Using Visual Studio Code
| Site: | Training For Life |
| Course: | Using Visual Studio code |
| Book: | Using Visual Studio Code |
| Printed by: | Guest user |
| Date: | Saturday, 18 July 2026, 2:29 AM |
Description
This book details the basics of using the Visual Studio Code Integrated Development Environment (IDE). You can download it from here: https://code.visualstudio.com/
1. Installing Visual Studio Code

This book details the basics of using the Visual Studio Code Integrated Development Environment (IDE) for JavaScript. The book will only cover the most basic elements, including installation, required plug-ins, file management, running your code and some
useful shortcuts.
Find out more about it here: https://code.visualstudio.com/
First of all, download the appropriate version of VS Code for your system. The download link is: https://code.visualstudio.com/Download
On this download page, there are three different versions for Microsoft Windows. You will almost always want the 64-bit version:
- User Installer. Choose this version if you're not sure about the others.
- System installer. This installs VS Code for all users of the computer. It requires Administrator access.
- zip. This option doesn't require any installation and is great for placing on a USB stick, giving you a development environment you can take with you.
Once downloaded, install (or extract) your version and then start VS Code.
2. Initial configuration.
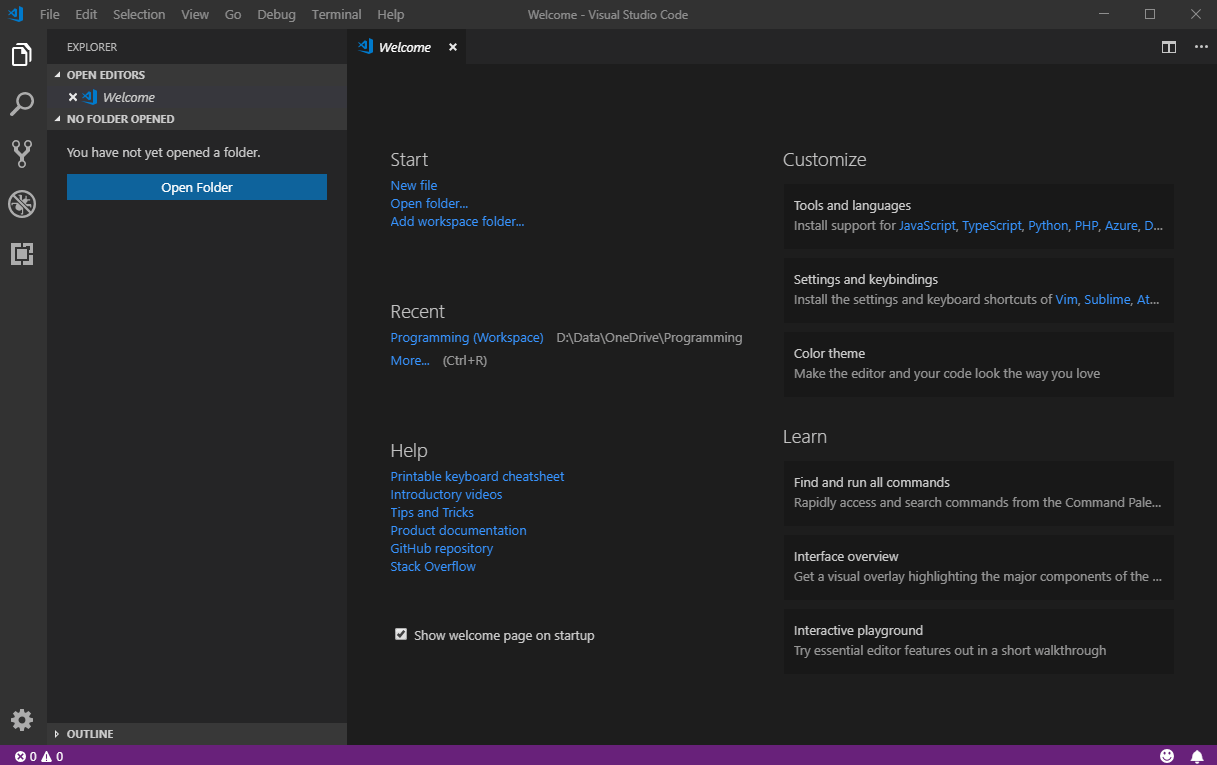
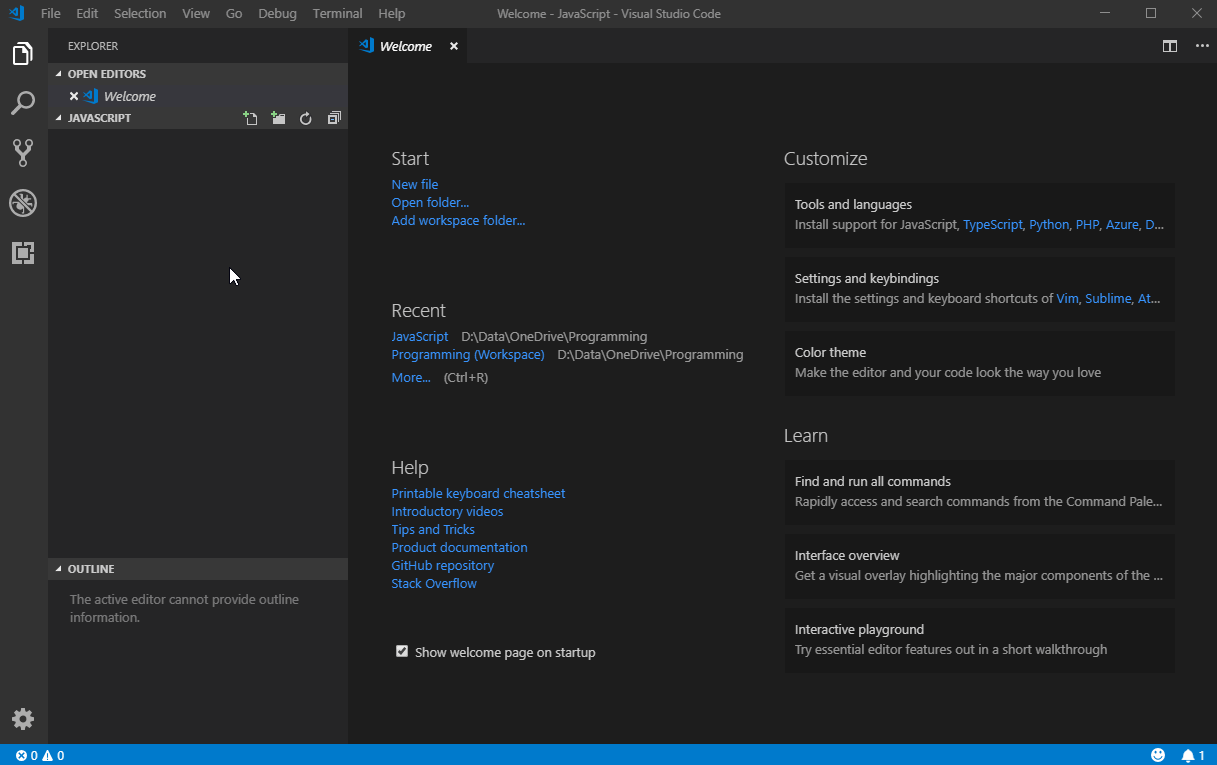
When started for the first time, the welcome screen should appear as shown below. You need to:
- Enable JavaScript by clicking the JavaScript link under Tools and languages then reloading VS Code when prompted. You can see the plug-in and any others in the extensions window.
- Add a workspace folder. Make a new one and name it appropriately.
The animation below shows all the steps.
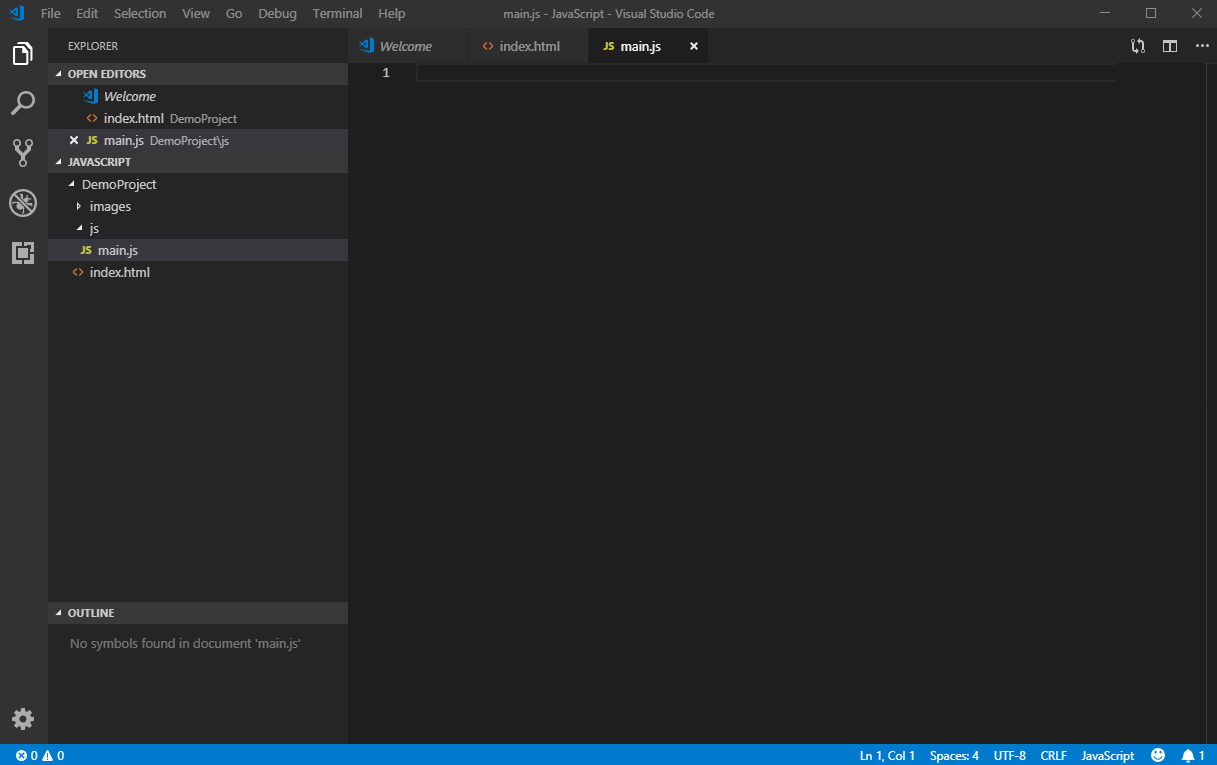
3. Adding files and folders
Generally a workspace should be for a single project, but for learning purposes we'll use one workspace for everything.
You can create new files or folders in your workspace by:
- Hovering over the workspace in the explorer and clicking the new file or new folder button.
- Right clicking the workspace in the explorer and choosing new file or new folder.
- Files or folders inside another folder need to have the parent folder selected first.
- Whenever you create a file, it is automatically opened in the editor window.
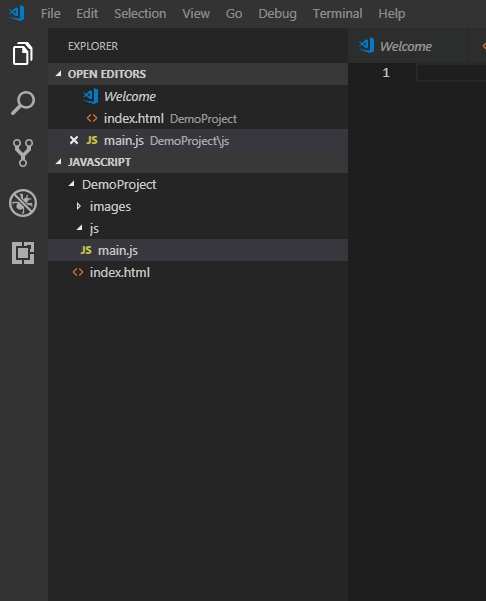
The animation below shows the creation of a demonstration project the minimum files and folder: a parent folder (DemoProject), the file index.html, a js folder and a main.js file.
4. Running your code
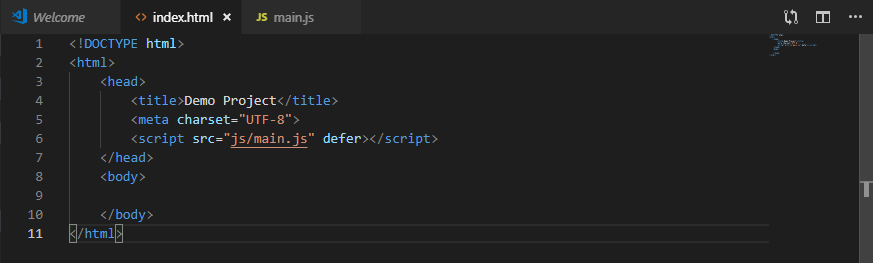
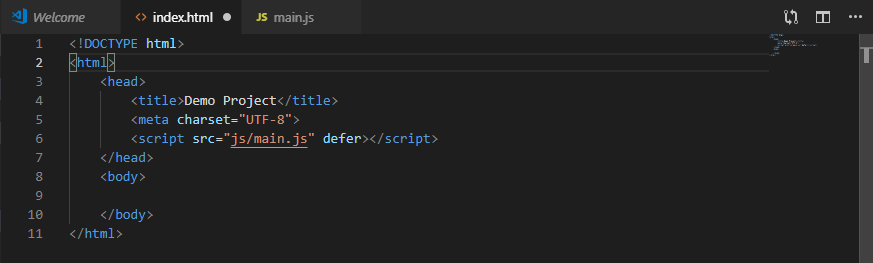
The easiest way to run your code is to open up the index.html page that is associated with your project.
In order for this to work, your index page must have the following code, usually in its <head> section:
This code tells the page to load the file main.js in the js folder. The word defer tells it not to load the JavaScript code until after the web page has fully loaded.
VS Code lets you quickly copy the path to a page, allowing you to paste it into your browser address bar.
- Right click your projects index.html file and choose Copy Path.
- In your web browser, right click in the address bar and choose Paste and Go.
5. Code hinting
The VS Code editor will try to help you out by trying to auto-complete what you are typing. Out of the box, VS Code can hint HTML and CSS code and we added JavaScript support when we installed the ESLint plug-in.
You should make heavy use of this feature. It's not perfect, but it saves a lot of time typing and can prevent common typing mistakes that break your program.
To use code hinting:
- Begin typing in your code.
- When it prompts you with a suggestion, you can press Enter to accept the suggestion at the top of the list or use the mouse / arrow keys to select one lower down.
The example below shows code hinting in action for an HTML page.
There are often even faster code hints for common tasks. The above animation demonstrates how to create a blank web page line by line with code hinting, but you can create a blank web page much quicker than that. The animation below shows how to create a standard html5 document with a single code hint.
6. Indenting and outdenting
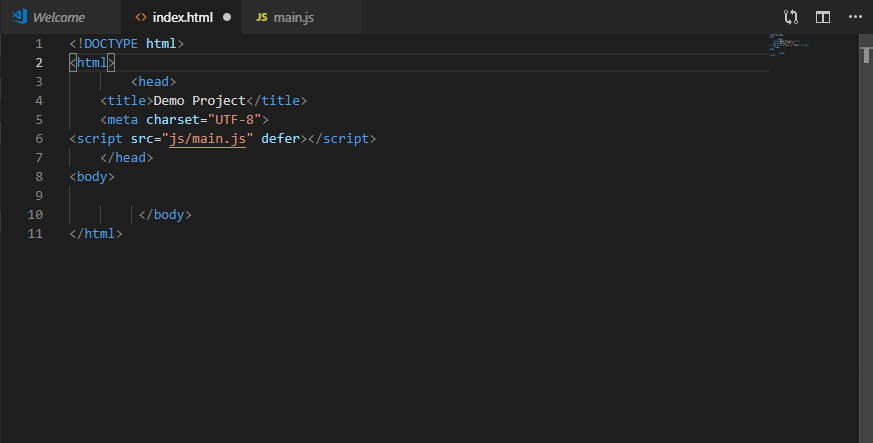
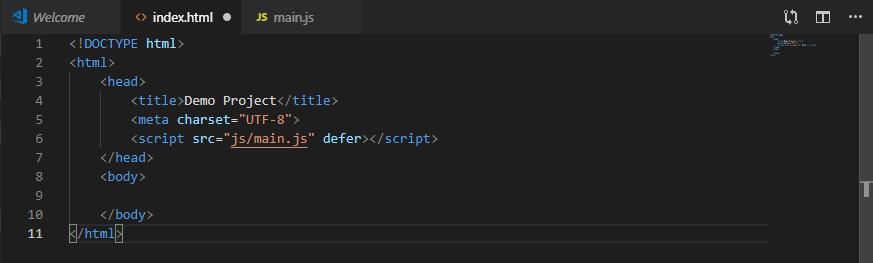
In order to make your code more readable, it is common to indent lines of code that are children to previous lines.
In the example on the previous page, <head> and <body> are indented inside <html> and <title>, <meta> and <script> are indented inside <head>.
You can indent or outdent multiple lines at once by:
- Highlight the lines to change.
- Press the Tab key to indent or Shift-Tab to outdent
7. Code tidy
By its nature, programming code can get untidy. It is edited out of order, elements are added in and removed, etc.
Untidy code, however, is hard to read. Proper use of indents and spacing really help make code readable and most IDE's have a tool to help do this.
To clean up untidy code:
- Right click on the editor.
- Choose Format Document.
8. Collapsing child code
Code can get long and scrolling through it to find important elements can become tiring.
One trick Integrated Development Environments (IDE's) have is to collapse (fold) code that is a child of a parent element.
With the mouse:
- Hover over the lines numbers in the editor.
- Click the - button by the element to collapse.
- Click again to expand.

With the keyboard:
- Place the cursor on any of the child elements.
- Press Ctrl-Shift-[
- Press Ctrl-Shift-] on the parent element to expand.
You can also fold / unfold every collapsible element at once using a key combo:
- Ctrl - K then Ctrl - 0 (zero) to fold
- Ctrl - K then Ctrl - J (zero) to unfold
9. Commenting out code blocks
Another useful trick is the ability to comment out a block of code. You might do this if you are experimenting and want to remove code from your program without actually deleting it.
To comment / uncomment a code block:
- Highlight the code to comment or uncomment
- Press Ctrl - / (Control and forward slash)
Most IDE's colour commented code green as an extra visual cue.
VS Code can do this for any language it has hinting enabled for.
10. Find and replace
There will be many times where you will want to swap a piece of code with another. It may be because you have copied the code from elsewhere and need it to match your own, or you want to change the name of a variable. If the code only occurs a few times in you code, you might consider changing it manually. However what if the code is repearted more than that and what if it is scattered across a file or even files?
All IDEs, and most text editing programs, have a tool to find a string of text and replace it with another. It's usually in the Edit menu and is called Replace or Find and Replace. The most common keyboard short cut for this tool is Ctrl-H.
Not only will find and replace get instances of the word you need to change, it'll often get instances you might otherwise forget, such as in comments.
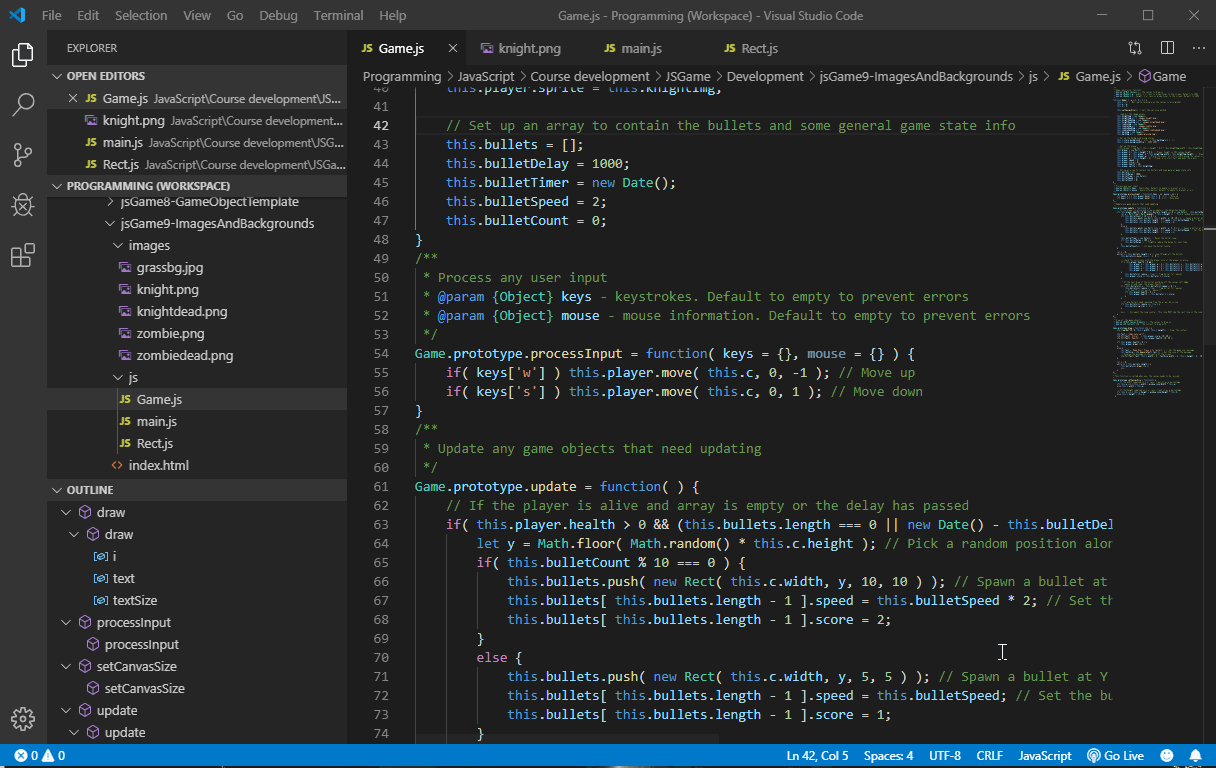
In the example below, the a series of variables named beginning with "bullet" is replaced with "zombie". "bullet" is used 57 times in the file and missing one instance of it would break the code. Find and replace is the perfect tool to change this variable name.
11. Setting up a Live Server
There are times when you will need to use a live web server to test your code. A live server pretends to be an actual web server, so you can run your code as it would appear if it was on the web instead of just loading from your computers hard drive.
The Visual Studio extensions directory provides several live servers. Microsoft's official Live Preview extension is good enough for our purposes, so let's see how to install and use it.
Installing Live Preview
- On the Activity Bar (Usually located on the left side of the screen), click the extensions
 button.
 - In the search box, search for Live Preview.
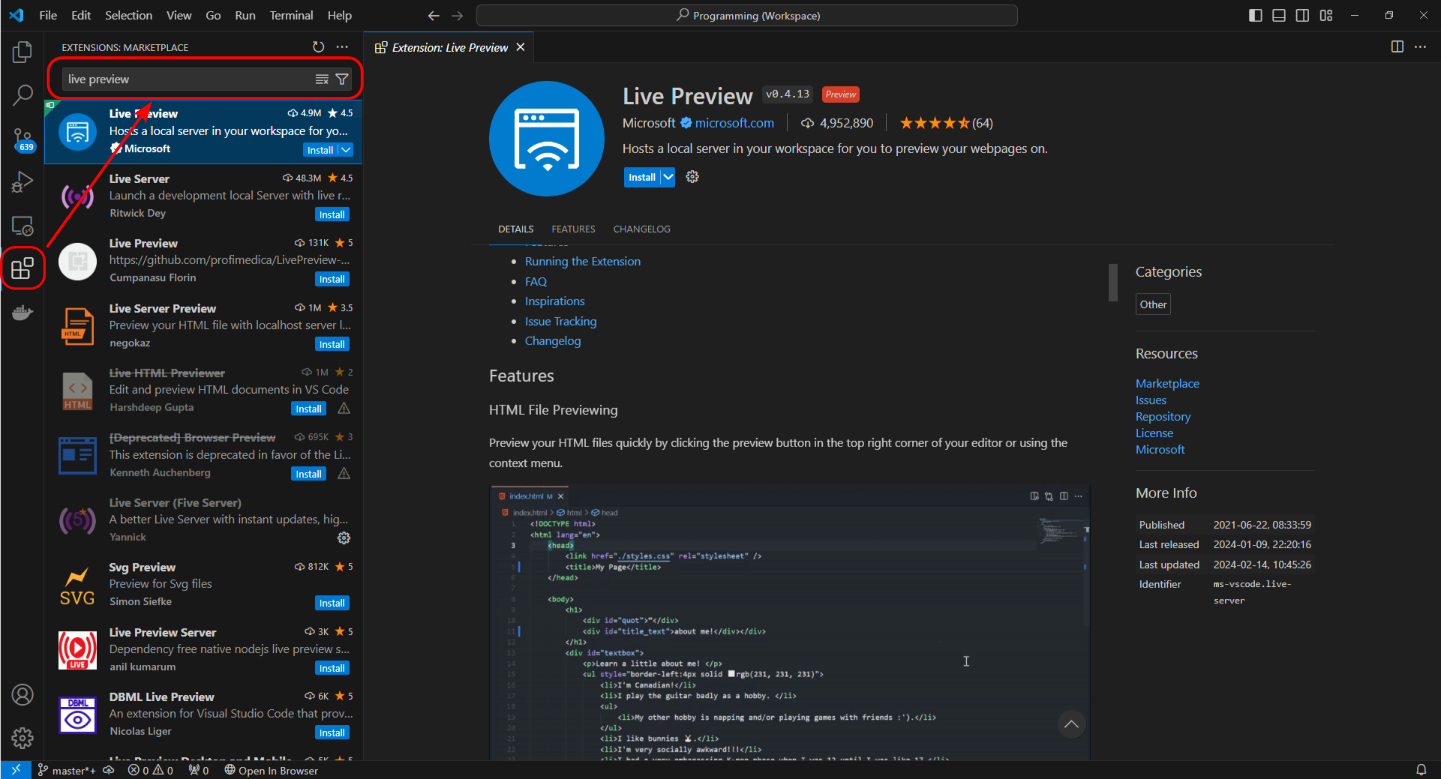
- Select the Live Preview extension from the list and click Install.
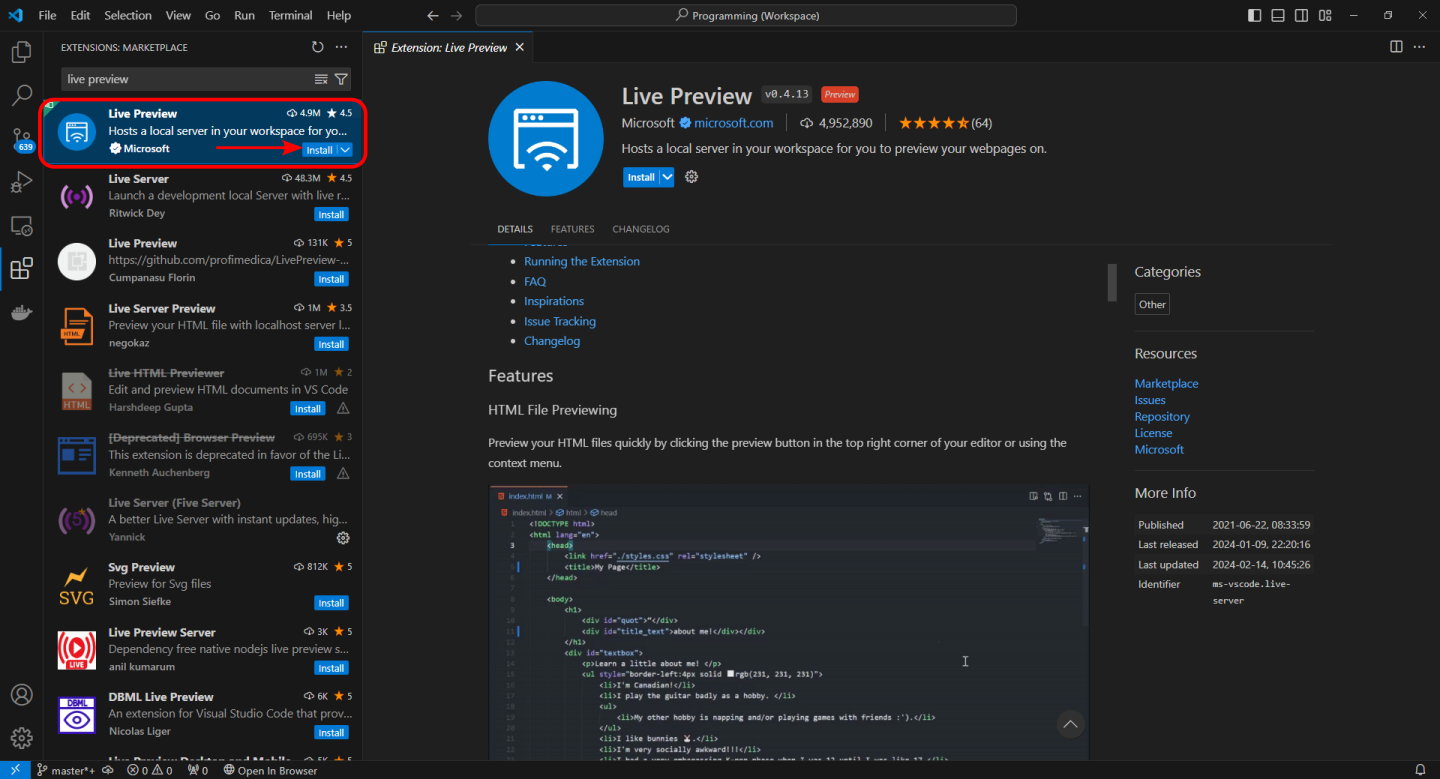
- You may need to restart Visual Studio Code the enable Live Preview.
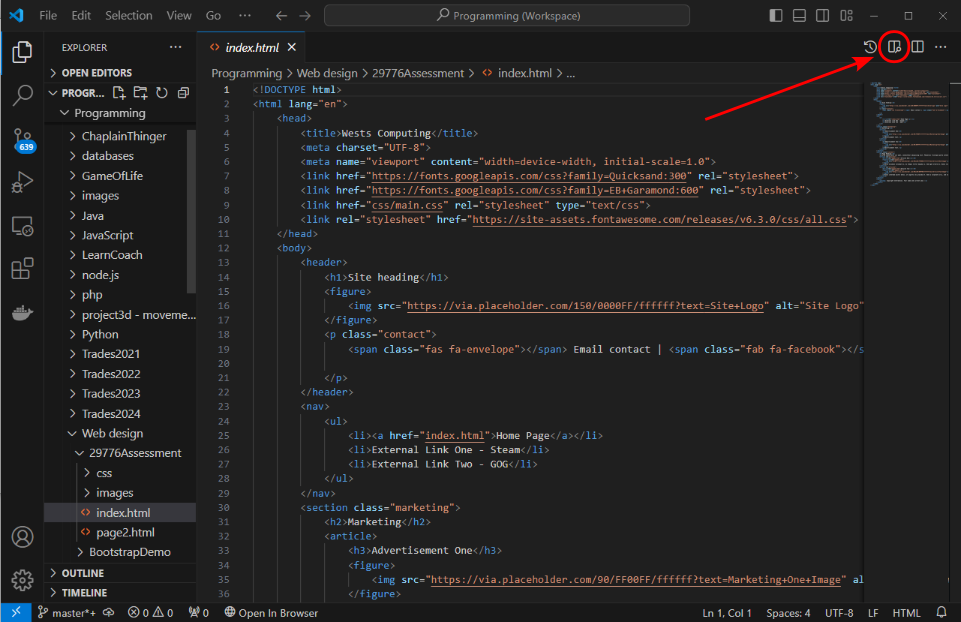
Using Live Preview
Once Live preview is installed, you can get a Live Preview of any page you are working on by clicking the new Show Preview button:
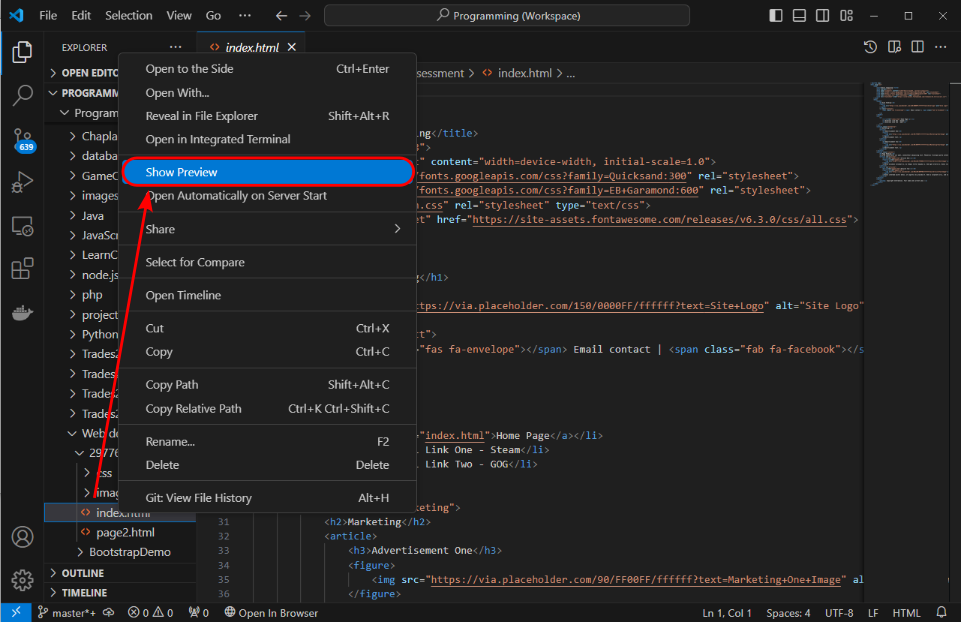
Or right clicking the file in the Explorer and Choosing Show Preview:
While the Live preview is running, a new tab will open showing a preview of the page using Visual Studio Codes internal browser. On Windows, this will be using the Microsoft Edge web browser.

Any changes you make to your code will update immediately in both the internal and external previews.
You can close this tab at any time and the Live Preview will continue running.
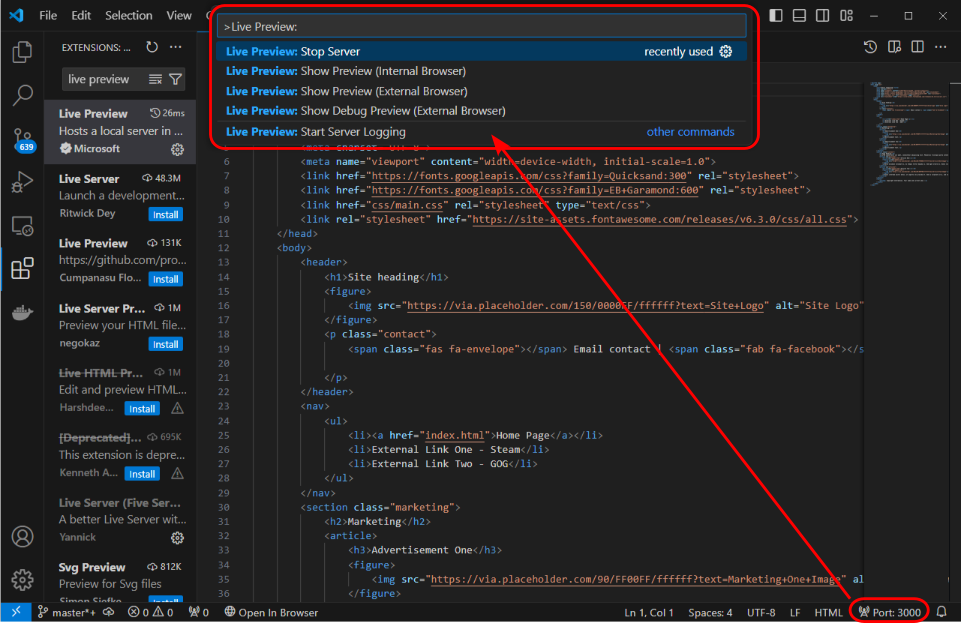
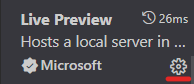
You can restore the preview, stop the live server or even open it in an external browser from the Status bar at the bottom of the Visual Studio Code window. When the Live Server is running you will see the following on the Status Bar  . Clicking on this will display some options in the Command Palette (You can also just type Live Preview into the palette).
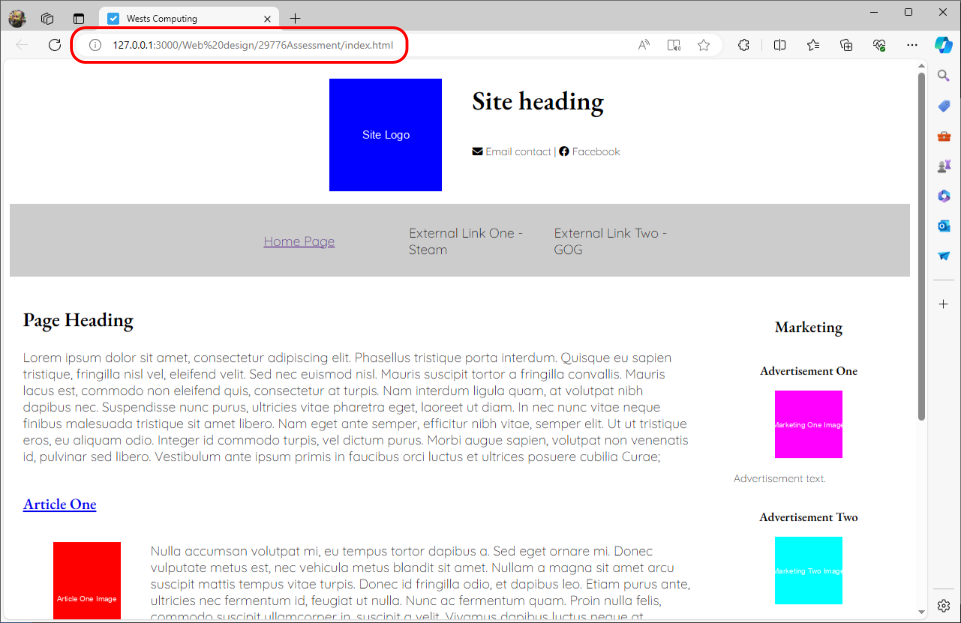
If you choose Show Preview (External Browser), Microsoft Edge will load separately from Visual Studio Code. You will see that the page is loaded from the address 127.0.0.1:3000. If you want to try the preview in a different browser, copy the address from Edge to a browser of your choice. It will work just fine.
This is different from the usual web browser preview which loads the file from your local drive.

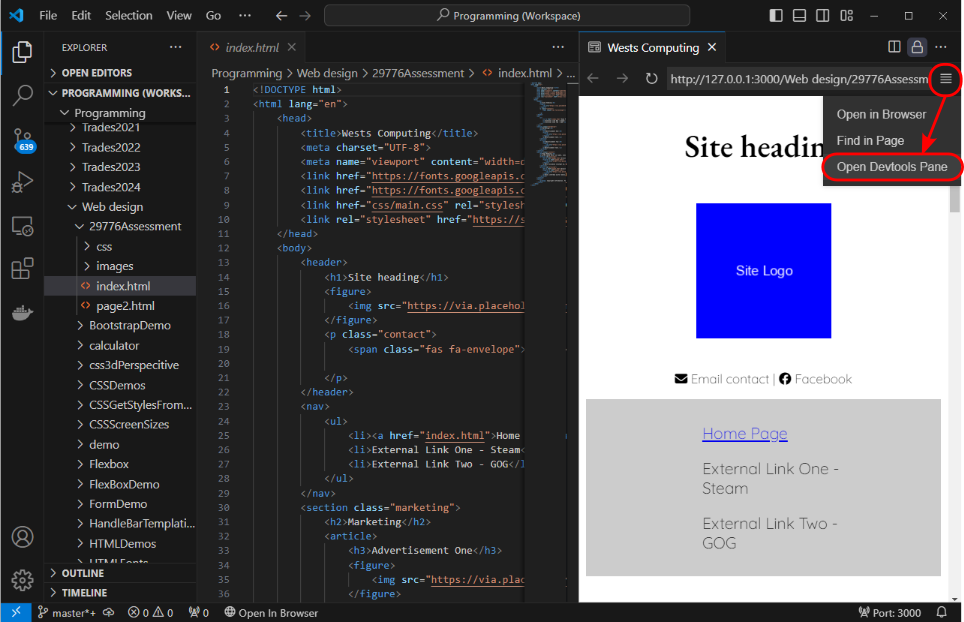
The Edge Developer tools can be opened from the Live Preview internal browser. Make sure the Show Preview (Internal Browser) is selected, then click the Hamburger menu in the internal browser and choose Open DevTools Pane. You can access the external browser form here too.
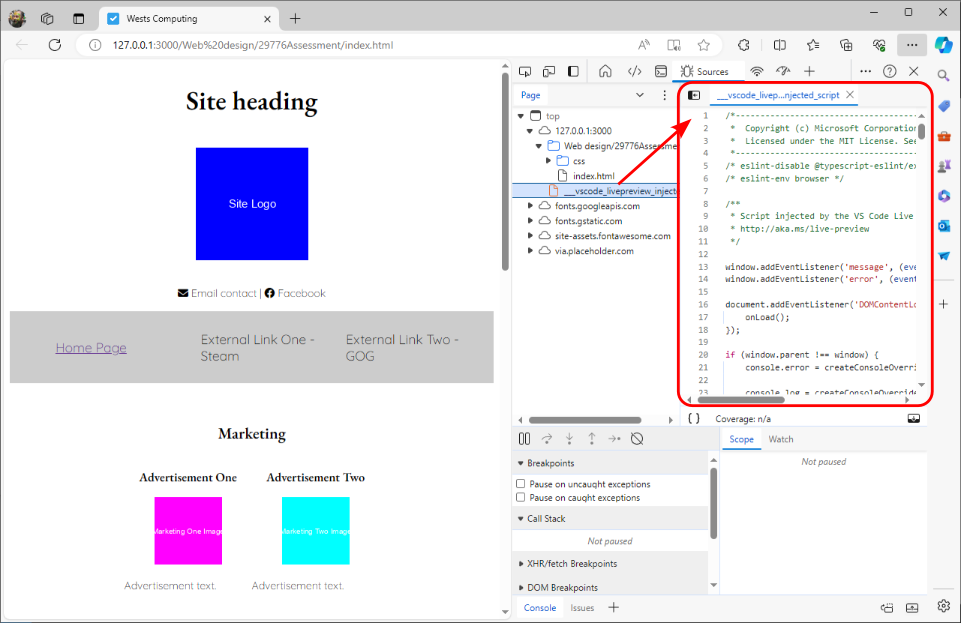
If you're developing JavaScript, the live server adds it's own JavaScript code into the project. You can see this code in the developer tools as you would any JavaScript code.
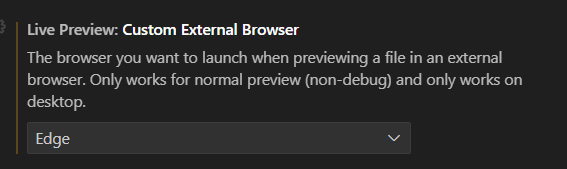
Changing the settings
There are quite a few settings you can change, but here we'll focus on changing the default web browser and changing the default behaviour to load the external browser instead of the internal one.
- Switch to the Extensions list by clicking the button on the Activity bar.
- Locate the Live Preview Extension. You can scroll through the installed list or search for it.
- Click the Settings cog on the Live Preview entry in the list and choose Extension Settings from the list.
- Change the default browser with Custom External Browser.
- Change the Preview to start with an external browser with Open Preview target.
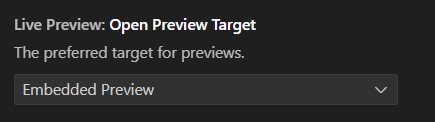
Changing both of these settings will cause the Preview button to open in an external browser of your choice by default.